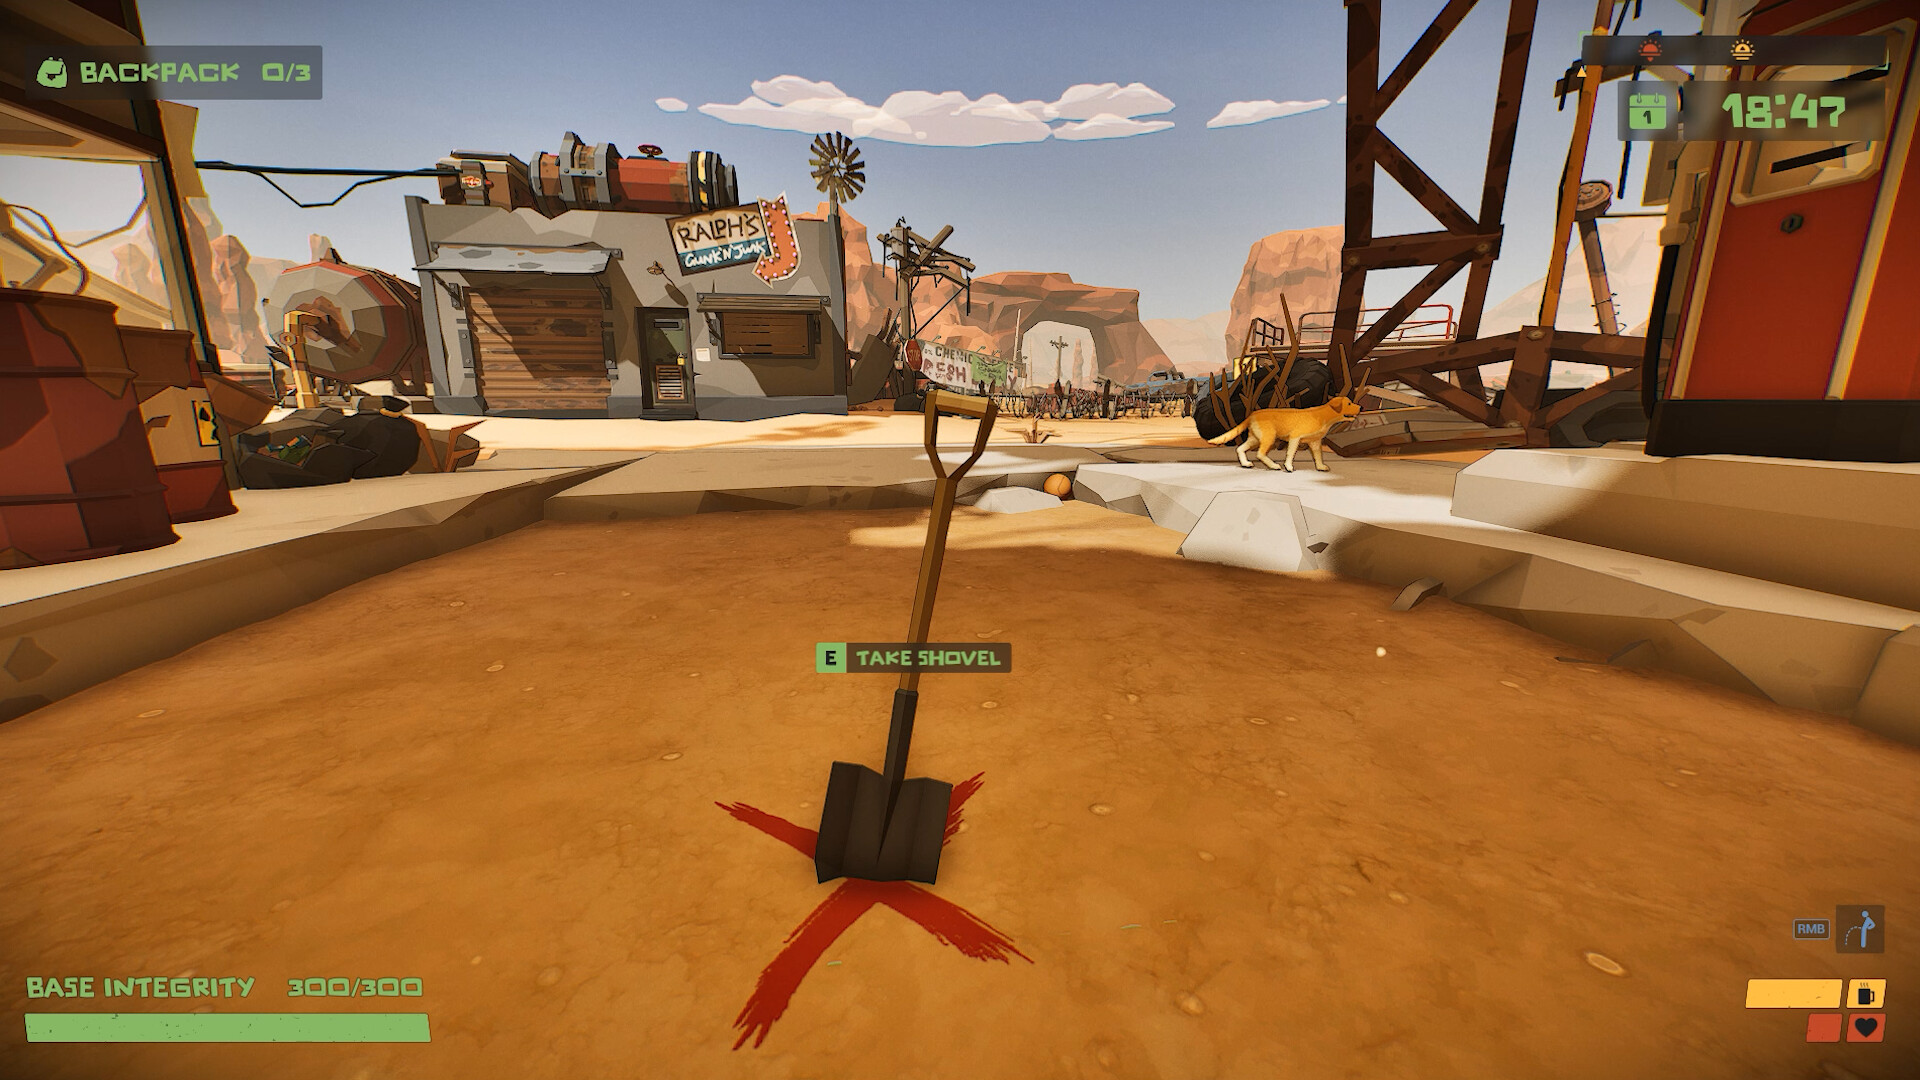
Daytime Mining
Complete Layer Guide
Optimal The Spotter: Dig or Die mining guide. Layer-by-layer resource priority, fatigue curves, artifact drop tables. Maximize Day 6 before Night 6 horde.
Layer Guide ↓Mining Layers Breakdown
| Layer | Resources | Drill | Fatigue | Artifacts |
|---|---|---|---|---|
| 1 | Iron(+++), Copper(++), Coal(+) | Shovel | | Rare |
| 2 | Copper(+++), Titanium(++), Food(+) | Iron Pickaxe | | Rare |
| 3 | Titanium(+++), Artifact(10%), Obsidian(++) | Copper Drill | | Rare |
Fatigue Management
Rule #1: Never exceed 85% fatigue. Jetpack emergency ascent at 80%.
Layer 3 Warning: Drill speed drops 50% above 70% fatigue. Surface immediately.
Food Priority: Berries (surface) > Mushrooms (Layer 2) > Protein Bars (crafted Day 3+)
Optimal route: Layer 1→3→artifact hunt
Layer 3+ Artifacts
Speed Boots (+20% move)
Layer 3+ (~2% drop)
Carry Bag (+50 slots)
Layer 3+ (~2% drop)
Fatigue Potion (30min)
Layer 3+ (~2% drop)
Best Day 4 drill path?
Layer 2 Copper → Layer 4 Titanium → Surface Coal loop. ~2hr cycle.
When to push Layer 5?
After Copper Drill + fatigue potions. Never below 40% jetpack fuel.